
GearAndSteel is reader-supported. As an Amazon Associate I earn from qualifying purchases. When you buy through links on our site, we may earn an affiliate commission, at no extra cost to you. Learn more.
TIG welding aluminum works best with a properly equipped AC TIG machine, clean aluminum, appropriate filler metal and a stable shielding-gas supply. The real challenge is controlling a fast-changing weld puddle while the surface oxide is removed. For a first project, practice on clean scrap of a known alloy before attempting a repair or load-bearing joint.
Why aluminum is different from steel in TIG welding
Aluminum conducts heat away from the joint quickly, yet the molten metal gives little visual warning before it collapses. Its tough surface oxide melts at a much higher temperature than the metal beneath. A joint can therefore look hot and shiny without having a properly cleaned, controlled puddle.
AC TIG helps with both sides of the problem. The electrode-positive portion of the AC cycle contributes oxide-cleaning action; the electrode-negative portion provides most of the workpiece heating. That is why an ordinary DC-only lift-TIG function, although useful for steel, should not be treated as an aluminum TIG capability. Specialized DC aluminum applications exist, but they are not a beginner substitute for normal AC TIG.
One important distinction: the machine’s AC cleaning cycle is not a substitute for surface preparation. If the joint contains oil, cutting fluid or embedded dirt, increasing cleaning action can leave the root problem in place and overheat the tungsten.
Check your setup before striking an arc
You do not need every advanced TIG feature to practice an aluminum bead. You do need equipment that matches the task, plus an environment where arc radiation, gas and fumes are controlled.
| Item | What to confirm | Common wrong assumption |
|---|---|---|
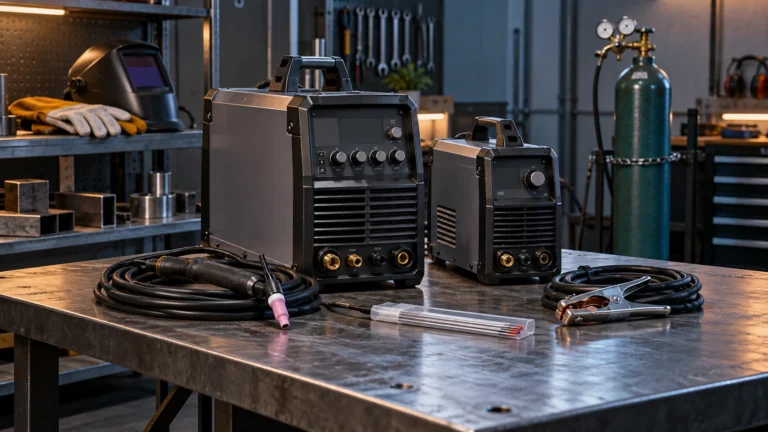
| Power source | AC TIG output, compatible torch/remote-current control, correct electrical supply and duty cycle for the planned job | “TIG capable” automatically means AC TIG |
| Shielding gas | Appropriate inert gas, typically pure argon for ordinary aluminum AC TIG, plus correct regulator, sound hose and manufacturer-specified flow | MIG steel gas mixes or excessive flow will work just as well |
| Tungsten and torch | Tungsten chemistry and diameter approved for your power source and current, with matching collet, cup and torch capacity | Every 3/32-inch electrode suits every job |
| Filler metal | Rod classification compatible with the known base alloy, service conditions and joint requirement | Any “aluminum rod” is interchangeable |
| Work area | Secured workpiece, suitable fume control, intact leads and PPE, protected observers and cleared combustibles | A low-smoke TIG arc needs no ventilation |
Do not connect or modify input wiring to make a machine fit a circuit. Follow the machine manual and use a qualified electrician when a suitable supply is not already available. Confirm shielding-cylinder restraint and regulator compatibility before opening the valve; stop if fittings leak or the cylinder arrangement is insecure.
Prepare the aluminum in the right order
Preparation is often the difference between an easily controlled puddle and a weld full of dark particles or pinholes. Use this sequence on ordinary, identified, nonhazardous practice material:
- Identify the metal and the task. Verify the alloy where possible. Do not assume an unknown casting, painted part or structural repair can use a generic recipe.
- Remove grease before brushing. Clean with a process-approved degreaser as instructed by its label and safety data sheet. Allow it to evaporate completely, remove containers and rags, and confirm no flammable vapor remains before any hot work.
- Remove the oxide. Use a clean stainless-steel brush dedicated to aluminum or another suitable clean tool. A brush previously used on steel can introduce contamination.
- Clean the filler and joint edges. Dry rods and dry work matter. Moisture, oily fingerprints and contaminated filler can contribute to porosity.
- Fit and secure the joint. Clamp the pieces without trapping your hands near the torch path. Check that the work connection is sound and placed as the equipment manual specifies.
If the joint still shows heavy oxidation or embedded contamination, stop and reprepare it rather than trying to overpower the dirt with more current. Do not weld unknown sealed, pressurized or previously flammable containers. Coated and painted metals require a separate hazard assessment before hot work.
How to TIG weld aluminum: a controlled first practice run
Start with a flat, clean practice coupon of known alloy. This is a practice sequence, not an approved welding procedure for a pressure vessel, trailer frame, critical vehicle part or any load-bearing assembly.
- Set up from the manuals. Select the machine’s AC TIG mode and confirm the shielding-gas, tungsten and accessory recommendations. Use the power source’s starting guidance for the specific thickness and joint rather than copying someone else’s dial positions.
- Rehearse torch and filler movement cold. With power off, brace your torch hand, leave room to travel, and move the filler hand independently. Aim to feed rod into the leading edge of the future pool without striking the tungsten.
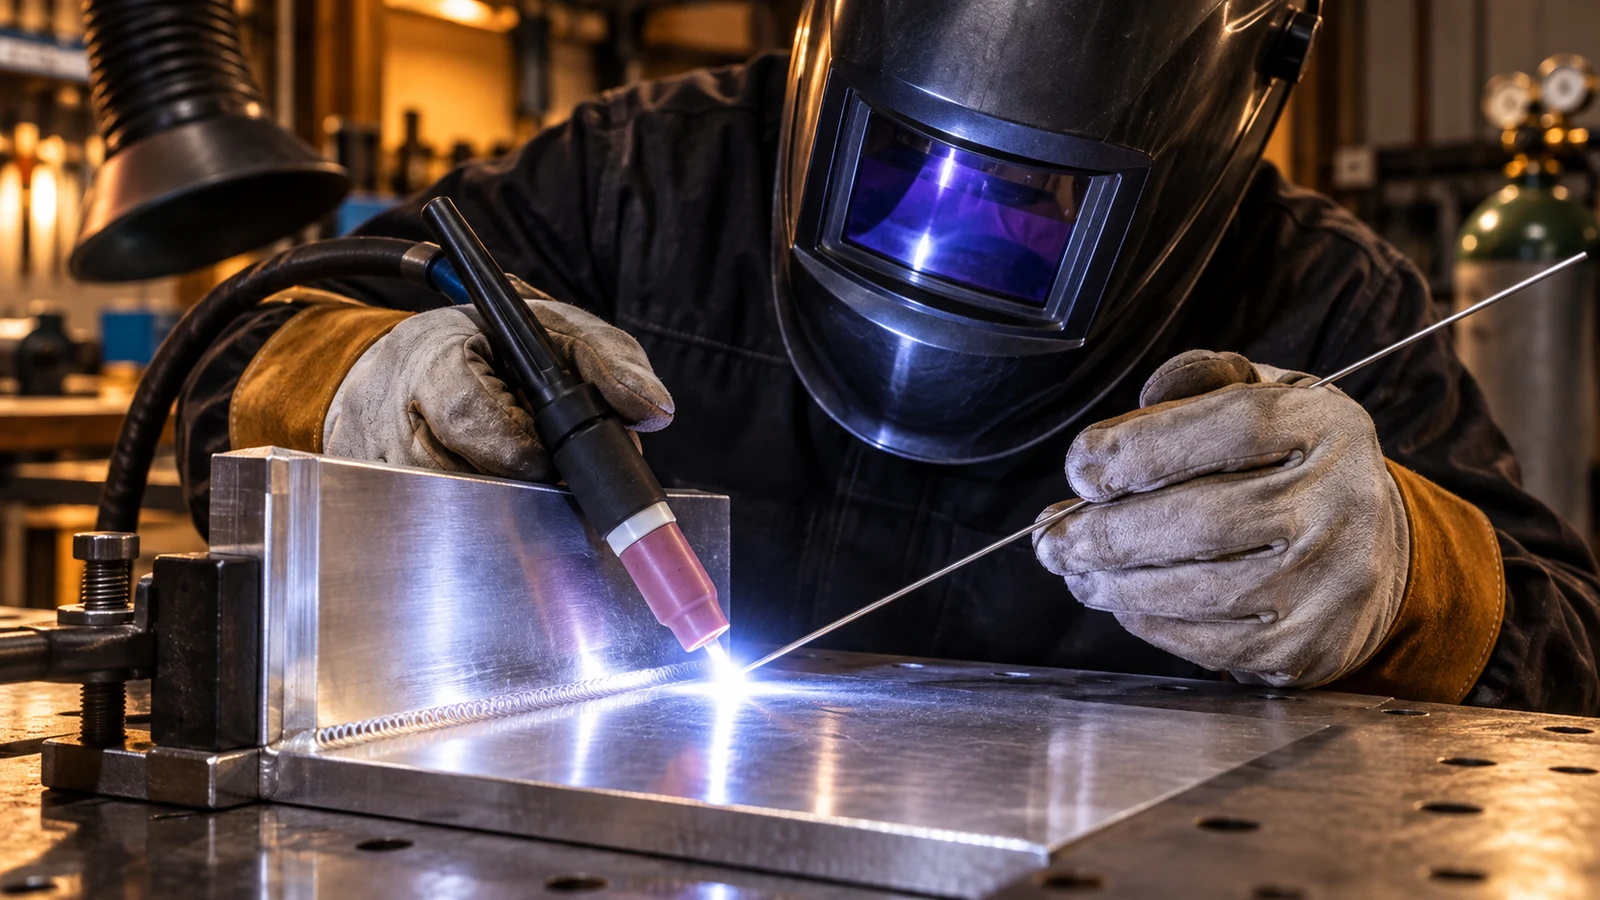
- Establish a small clean puddle. With full helmet and body protection and source-level ventilation in place, use a short, stable arc and watch for the metal to become fluid. Avoid chasing a nonexistent puddle by simply increasing power; revisit surface prep and settings if cleaning is inadequate.
- Move before heat accumulates. Aluminum increasingly warms as the bead advances. Adjust travel and remote current control as the pool grows; pause the practice if the edge begins to sag or the width runs away.
- Add compatible filler smoothly. Dab into the leading edge while keeping the heated filler end within the shielding envelope. If the rod hits the tungsten, stop, let the equipment cool as instructed, and recondition or replace the contaminated electrode before restarting.
- Finish and inspect. Use the machine’s specified end-current and post-flow features if available. Let the joint cool safely and inspect for obvious holes, cracks, contamination, undercut or lack of fusion. Appearance alone does not prove a structural weld is sound.
For a beginner, three short exercises usually teach more than an ambitious repair: hold a stable puddle without filler, add filler consistently on another coupon, then repeat on a simple fitted joint. Change one variable at a time and compare the result. That makes troubleshooting possible.
AC balance, current and frequency: what matters here
Settings must come from the specific welder manual, joint design, alloy, material thickness and test coupon. Some machines display balance as percent electrode-negative, others express cleaning differently. Copying “75%” without checking the scale can reverse the intended result.
As a concept, more electrode-positive time generally increases oxide cleaning and tungsten heating, while more electrode-negative time favors workpiece heating and reduced tungsten erosion. AC frequency changes arc concentration on machines that support adjustment. Neither feature repairs grease contamination or an incompatible filler choice.
If your puddle has a black, pepper-like skin, first verify cleaning, gas protection and the machine’s AC balance convention. If the tungsten balls excessively or the arc becomes unstable, review excess cleaning, tungsten preparation and machine guidance. Detailed amperage and balance tables belong in the dedicated aluminum TIG settings guide, not in a universal number that could be unsafe for a different model.
Choosing filler rod and tungsten without guessing
ER4043 and ER5356 are common aluminum filler classifications, but they are not interchangeable for every alloy or service condition. In Miller’s application guidance, 4043 is noted for fluidity and resistance to shrinkage cracking, while 5356 is often considered when a qualified application calls for different strength or anodized color-matching characteristics. Long-term elevated-temperature service and the precise base-metal alloy can rule out a seemingly convenient filler. For engineered joints, use the approved welding procedure and filler maker’s compatibility chart.
| Consumable | Useful for | Verify before purchase |
|---|---|---|
| ER4043 aluminum TIG filler | Many compatible general aluminum TIG joints, particularly when puddle wetting is important | Base alloy, rod diameter/length, service conditions; not a universal 5xxx solution |
| ER5356 aluminum TIG filler | Selected aluminum applications with different mechanical or anodizing requirements | Alloy chart, temperature/service restrictions and specified WPS |
| 2% lanthanated tungsten | A common modern AC/DC TIG electrode option where your welder supports it | Actual torch collet size, machine guidance, current and tip preparation |
The Amazon options below are specific consumables to check, not a claim that any one will suit your unidentified job. Select based on your procedure, not the product name alone.
ER4043 for a small practice kit: SONNLER’s Amazon listing is for 3/32-inch by 16-inch ER4043 rod in a 1.8-pound package. That length is more manageable at a compact bench than a long industrial rod, but the 3/32-inch diameter may not suit thin sheet or the amperage you intend to use.
ER5356 when the alloy calls for it: Weldcote Metals lists a 1/16-inch by 36-inch ER5356 TIG filler rod package. Its classification offers a separate selection route, not an upgrade from 4043. Skip it if your filler chart or service conditions call for a different alloy.
Tungsten for an approved AC setup: Midwest Tungsten Service lists a ten-pack of 3/32-inch blue 2% lanthanated tungsten electrodes. This is an electrode, not filler metal. Buy only after confirming that your torch accepts 3/32-inch electrodes and the machine manual approves this type for your work.
Common aluminum TIG problems and the next sensible check
| What you see | Likely area to investigate | Safe next step |
|---|---|---|
| Black specks or dirty, sluggish puddle | Oxide, grease, insufficient cleaning action or disrupted shielding | Stop, clean and dry the material, confirm gas path, then compare a test coupon |
| Tiny holes after the bead cools | Moisture, contamination, porous material or shielding-gas disturbance | Check surface, filler and dry gas system; do not hide pores with another cosmetic pass |
| Tungsten melts, rounds excessively or sticks | Contamination, unsuitable tungsten size, excess electrode-positive time or contact | Stop, inspect and prepare the electrode per manual, then review balance and capacity |
| Puddle suddenly runs wide or burns through | Heat accumulation, poor fit-up or unsuitable control range | Stop on scrap, allow cooling, rethink joint fit and heat-control plan |
| Bead looks fine but joint is critical | Appearance cannot establish root fusion, material properties or joint strength | Require a qualified procedure, inspection and testing appropriate to the application |
Not every black deposit has the same cause. Don’t immediately turn up the gas: Miller notes that excessive gas flow can produce turbulence and draw in air. A leaking hose, damaged torch component or draft deserves attention before any setting change.
When to stop instead of “making it work”
Arc welding exposes the operator and bystanders to ultraviolet and infrared radiation, electric shock, burns, fumes, hot metal and fire. Use correctly selected eye/face protection, gloves, full skin coverage and suitable footwear. Welding screens protect others; local exhaust or equivalent engineered ventilation addresses airborne hazards. A respirator alone is not a substitute for evaluating or controlling the fume source.
Do not weld if the work return or power cable is damaged, shielding equipment is leaking, air movement defeats fume capture, nearby combustibles cannot be removed, or the workpiece’s coatings and history are unknown. Cylinders must be secured and handled per supplier and manufacturer instructions. These are stop conditions, not problems to solve by raising current or gas flow.
If the part is structural, pressure-containing, safety-critical or made from an unknown casting or heat-treated alloy, practice techniques are not enough. Aluminum alloys can lose strength in the heat-affected zone even when the bead looks attractive. Obtain a qualified welding procedure and the required inspection rather than assuming a good-looking bead is a good repair.
Frequently Asked Questions
Can you TIG weld aluminum with a DC-only TIG welder?
Conventional aluminum TIG work normally uses an AC-capable TIG machine so the arc provides oxide-cleaning action. Specialized DC procedures exist, but a DC-only TIG feature is not a general substitute. Check the exact welder manual before buying equipment for aluminum.
What shielding gas should a beginner use for aluminum TIG?
Pure argon is the usual starting choice for conventional AC TIG welding of aluminum. Use a compatible regulator and the welder or torch manufacturer’s specified gas-flow guidance; more flow is not always better, especially in drafts.
Why does the tungsten keep getting contaminated?
The tungsten may be touching the puddle or filler, or an unsuitable current, balance or electrode preparation may be overheating it. Stop and recondition the electrode or fit a fresh compatible one, following the equipment manufacturer’s instructions before restarting.
Is ER4043 always better than ER5356 for beginners?
No. ER4043 can be easier to wet into some compatible practice joints, but base alloy, mechanical requirements, anodizing and service temperature determine the actual filler. Follow the filler manufacturer’s chart or a qualified procedure on important work.
The practical starting point
For a first aluminum TIG session, spend effort on a clean, known-alloy coupon, a real AC TIG setup and steady puddle control before chasing exotic settings. Once you can hold a consistent small pool, add properly matched filler and inspect the result. If the material or joint has safety-critical requirements, the next step is a qualified procedure, not another tutorial setting.