
GearAndSteel is reader-supported. As an Amazon Associate I earn from qualifying purchases. When you buy through links on our site, we may earn an affiliate commission, at no extra cost to you. Learn more.
TIG welding, formally gas tungsten arc welding (GTAW), uses a nonconsumable tungsten electrode to create an arc while inert shielding gas protects the molten metal. You add filler rod separately when the joint requires it. TIG offers excellent control on clean, accurately fitted parts, especially thin steel and stainless steel, but it is slower than wire-feed welding and demands coordinated torch, heat, and filler control. For most aluminum TIG work, choose an AC-capable machine rather than a DC-only unit.
How TIG welding works
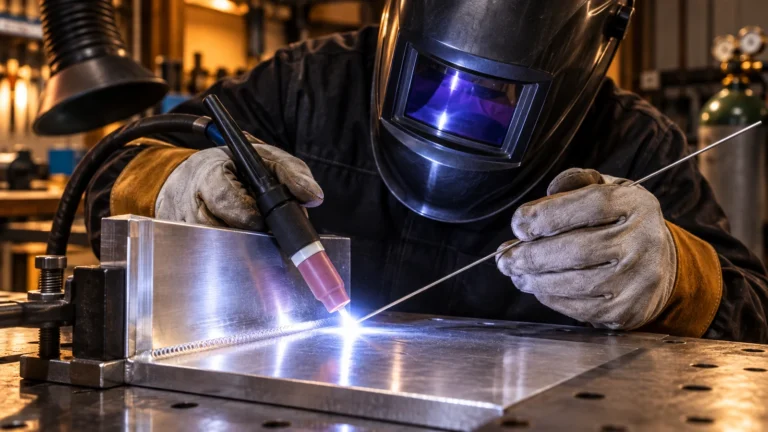
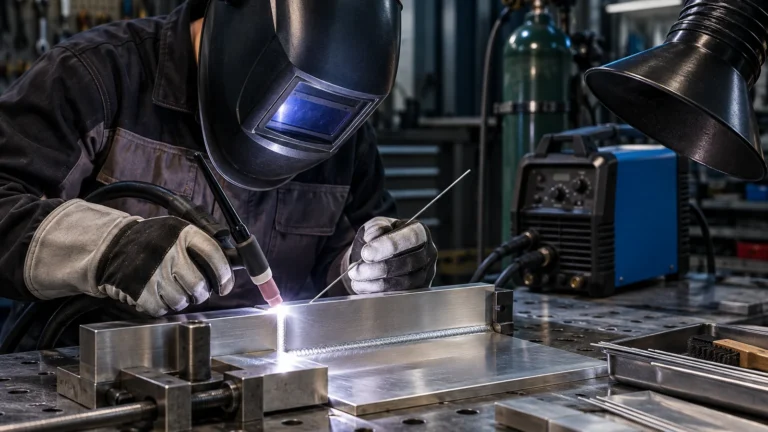
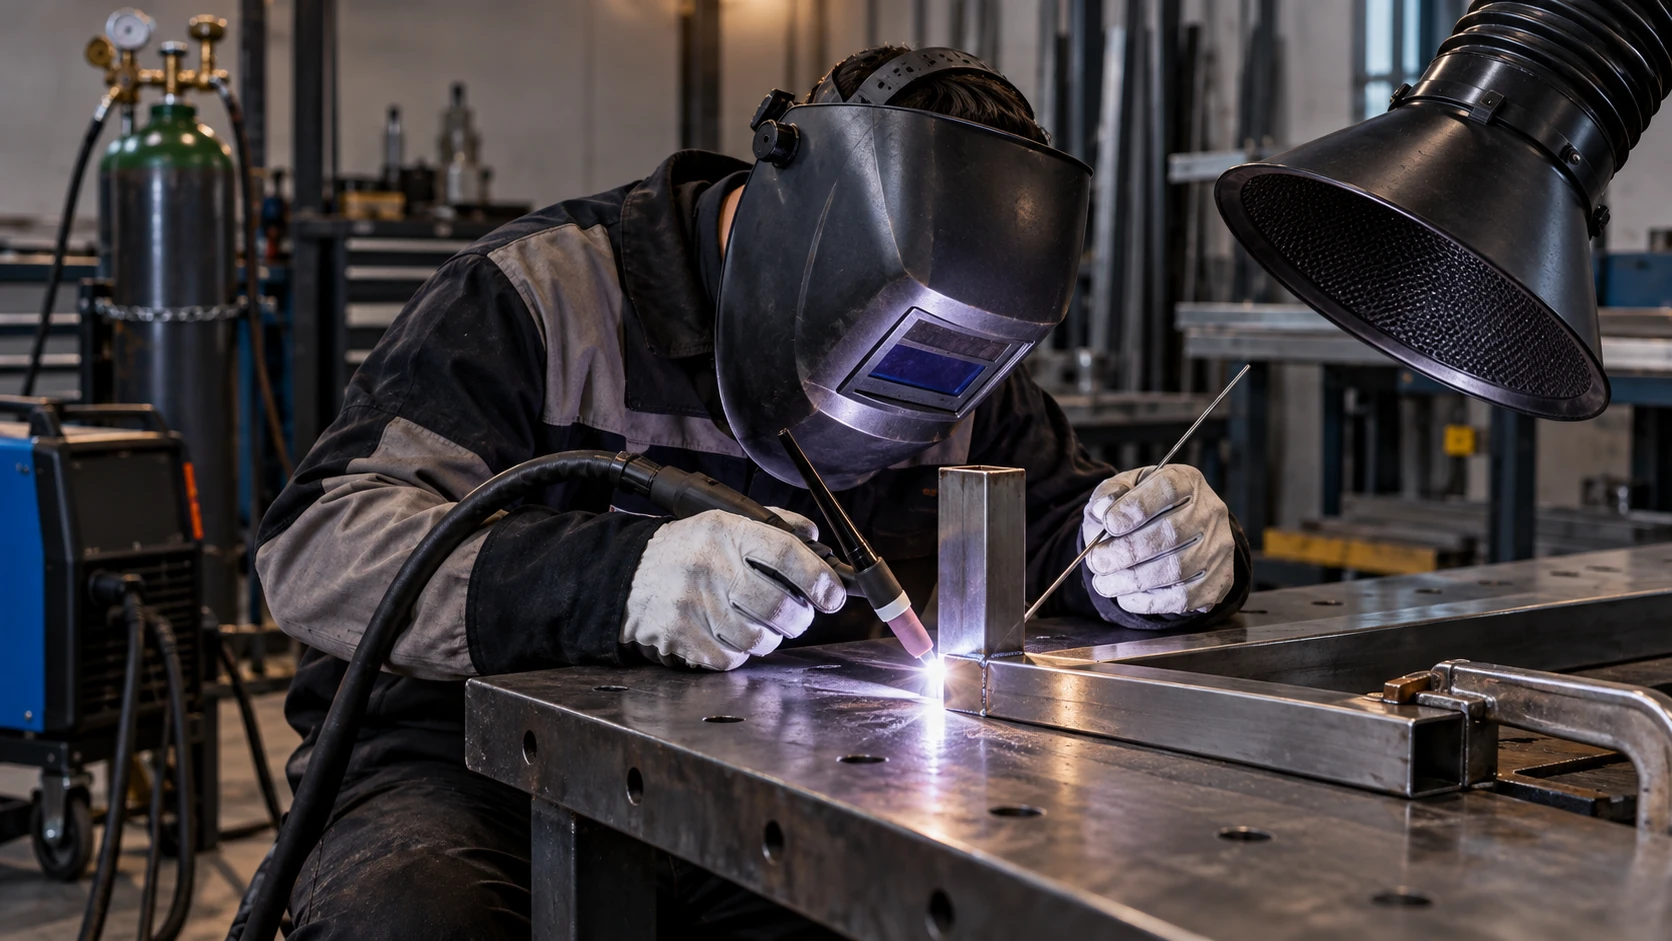
Current travels through a tungsten electrode held in the torch. The arc melts a small pool in the workpiece while argon, commonly used as the shielding gas, displaces surrounding air at the weld. The tungsten carries current but is not intended to become part of the weld. Unlike MIG, there is no continuously fed electrode wire. When filler is needed, the operator introduces a separate rod to the edge of the puddle.
That separation matters. You can establish a small puddle before adding metal, control its size with an appropriate amperage remote, and stop adding filler without stopping the arc. In exchange, you manage several variables at once: torch distance, travel, joint cleanliness, filler timing and, often, foot-pedal or fingertip control. A neat-looking TIG bead alone does not establish weld strength or suitability for a safety-critical joint.
What the torch actually contains
The torch holds a tungsten electrode in a collet, supported by a collet body or gas lens. A ceramic cup channels shielding gas over the tip and weld. The torch connects to the correct power, shielding-gas and, where applicable, cooling systems. Cup, collet and electrode sizes must match the particular torch family and operating conditions; visually similar consumables are not automatically interchangeable.
When TIG is the right process
Choose TIG when joint appearance, controlled filler addition, access around a small joint or the need to work carefully on clean, thin stock justifies a lower deposition rate. It is a sensible option for shop-built stainless fixtures, thin-wall tubing and precise repairs after material identification and proper joint preparation. It is less efficient for long production welds, wind-exposed fieldwork, dirty or coated surfaces, and tasks where speed outweighs fine control.
| Your job | TIG decision | Why it matters |
|---|---|---|
| Thin, clean stainless assembly | Strong candidate | Independent heat and filler control; shielding and contamination control remain essential. |
| Clean steel fabrication with visible seams | Good option if speed is secondary | Precise puddle control, but fit-up and operator skill govern the result. |
| Aluminum TIG | Use an appropriate AC TIG system | AC provides oxide-cleaning action; DC-only TIG is generally the wrong purchase for routine aluminum work. |
| Repeated long welds on thicker steel | Consider MIG or another suitable process | Faster filler deposition may matter more than the additional hand control of TIG. |
| Windy outdoor repair or contaminated unknown metal | Stop and reassess process and surface | Wind disturbs shielding gas; coatings and unknown alloys can create serious hazards. |
For a load-bearing, pressure-containing, roll-cage, vehicle safety or code-governed application, process choice is only one requirement. Qualified procedures, suitable materials, inspection and trained personnel may be mandatory. Do not treat a first successful practice bead as qualification for critical fabrication.
Steel, stainless steel and aluminum need different decisions
DC TIG for carbon steel and stainless steel
Direct-current electrode negative (DCEN) is commonly used for TIG welding steel and stainless. Start with confirmed base-metal identity and the correct filler classification, not simply a rod whose label mentions steel. For stainless, heat tint, root shielding and corrosion requirements can affect the finished joint; tubing intended for hygienic or corrosion-sensitive service needs application-specific procedures. Clean the joint and avoid transferring carbon-steel debris onto stainless with shared preparation tools.
AC TIG for aluminum
Aluminum has a persistent oxide layer and rapidly conducts heat away from the weld area. Conventional aluminum TIG uses alternating current so the process provides oxide-cleaning action while still generating fusion heat. An AC/DC designation is therefore a meaningful machine distinction; a generic “TIG capable” badge on a multiprocess DC unit is not enough. Aluminum filler selection and cleaning are separate decisions and depend on the alloy, service conditions and the actual welding procedure.
Buying note: if aluminum is your principal project, confirm AC TIG output, the allowed power input and the actual torch and remote-control connections before choosing consumables. A low-cost DC lift-TIG add-on is not a substitute for an appropriate AC TIG system.
What equipment is required for TIG welding?
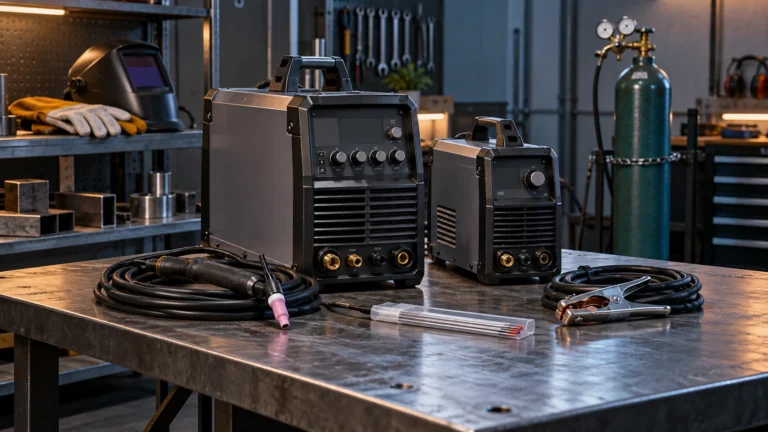
A workable setup is a complete system, not just a machine labeled TIG. Confirm each part against the exact power-source manual and the torch documentation:
- Suitable constant-current power source: DCEN for common steel work; appropriate AC capability for routine aluminum TIG. Check duty cycle at the stated output, rated input and compatible electrical supply.
- TIG torch and correct connection hardware: Include the compatible collet, cup, gas path, and cooling method if the application requires it. A torch plug fitting into an outlet does not prove gas and control compatibility.
- Argon cylinder and matching regulator/flowmeter: Secure the cylinder against falling and check the correct regulator, gas connections and leak-free hoses under the manual’s procedure. Oxygen or a typical mild-steel MIG argon/CO2 blend is not a routine TIG substitute.
- Work lead, required control and clean welding surface: Verify clamp condition and connections with power off. Ensure adequate shielding, fire precautions, and an electrical circuit suitable for the welder.
- Correct tungsten and filler: Electrode alloy, diameter, grind profile and rod classification depend on current type, material and procedure. Filler is optional only where the joint and welding procedure permit an autogenous weld.
- Appropriate PPE and fume controls: An approved welding helmet with correctly selected shade, protective eyewear, flame-resistant clothing, welding gloves, covered skin and suitable ventilation are required even when the process produces little visible spatter.
A frequent buying mistake: selecting a torch or accessory kit by its “TIG” title alone. Check the exact torch series, collet body type, electrode diameter, cable connector and gas connection first. The same applies to foot pedals: plug shape and pin count do not prove remote-control compatibility.
Common TIG controls and starting methods
Most TIG discussions involve three separate choices. AC versus DC addresses material behavior. High-frequency, lift or scratch starting concerns how the arc is initiated. Remote amperage and pulse functions affect the operator’s available control. These are not interchangeable selling points.
High-frequency start can initiate an arc without intentionally touching the tungsten to the work. Lift start is a controlled contact-and-lift method where the equipment is designed for it; it is not a universal instruction to scrape the electrode across the metal. Scratch starting is a separate, equipment-specific practice with contamination risks. Use only the start method provided and documented for the exact machine.
A foot pedal is convenient on a bench, but it may be impractical for out-of-position welding. A compatible fingertip controller may suit that situation better. Pulse can alter how heat is applied, yet does not replace sound fit-up, shielding, travel or a qualified procedure. Start with the manufacturer’s process guidance instead of copying another person’s amperage or gas-flow numbers into a different setup.
A safe first-practice sequence
Learn on identified clean mild-steel coupons in an appropriate supervised welding environment, using a machine manual and safe practice procedure. Do not practice on a pressurized vessel, galvanized part, fuel container, structural member or an unknown coated scrap item.
- Before energizing: read the exact machine’s operating and safety instructions; verify the circuit, cables, suitable PPE, local fume extraction, fire-safe space and secured cylinder. Stop for damaged insulation, uncertain wiring or inadequate ventilation.
- Match the system: confirm the material, process selection, electrode, filler, gas, torch parts and work connection against the relevant documentation. Keep exposed surfaces clean and dry.
- Practice observing the puddle: in a controlled training setting, learn how electrode distance and travel affect the puddle without touching the tungsten to it. Add compatible filler only as instructed for the joint and exercise.
- Inspect and reset: stop, allow parts to cool safely and evaluate contamination, consistent fusion and bead shape. If the tungsten touched the puddle or filler, recondition or replace it using the manufacturer’s recommended handling and grinding precautions.
Stop immediately for unexplained arcing, electrical shock or tingling, a damaged hose, suspected gas leakage, loss of shielding, visible fume accumulation or unexpected fumes from coatings. Isolate equipment under the manufacturer’s instructions and involve a qualified person where electrical or gas-system integrity is uncertain. Confined-space welding requires a formal hazard assessment and safeguards, not an ordinary DIY ventilation workaround.
Three TIG accessories worth understanding before you buy
Accessories make sense only after the process, PPE and power requirements are settled. These examples are linked to exact Amazon.com listings, not presented as a universal starter bundle.
CK Worldwide T3327GL2 2% lanthanated tungsten, 3/32 inch
These are nonconsumable TIG electrodes, not filler rods. The Amazon listing identifies the 3/32-inch, 10-pack T3327GL2 variant. It is a relevant example for a setup that accepts 3/32-inch 2% lanthanated electrodes, but the correct diameter and tip preparation depend on amperage, machine and application. Skip it if your torch’s collet or documented procedure calls for a different electrode size or alloy.
View CK Worldwide T3327GL2 tungsten on Amazon
STARTECHWELD ER70S-2 mild-steel TIG filler, 1/16 inch
This listing identifies a 1/16-inch ER70S-2 TIG filler rod in a 2-pound box. It provides added metal for suitable carbon-steel joints; it is not the tungsten electrode, not a stainless filler and not a general solution to an unknown alloy. Check the approved filler classification and diameter for your actual joint before ordering.
Check the ER70S-2 filler rod listing on Amazon
Mechanix Wear Pulse Torch welding gloves
A dexterity-oriented welding glove is relevant because the filler hand must move accurately near heat. The Pulse Torch listing is a concrete option to assess for fit and hand coverage, not a guarantee of protection for every heat exposure. Choose glove materials, cuff coverage and other PPE for the actual risk assessment, then confirm sizing and the manufacturer’s limitations.
See Mechanix Wear Pulse Torch gloves on Amazon
None of these products replaces an appropriately rated helmet, ventilation, cylinder restraint or an electrically suitable welder. Availability and product variants may change; recheck the exact item before purchase.
Problems new TIG welders often mistake for a bad machine
The arc wanders or starts inconsistently
A contaminated or poorly prepared tungsten, incomplete work connection, unsuitable start mode or incorrect electrode selection can all be involved. Stop the arc and check what the manual allows you to inspect with the unit off. Do not open electrical covers or attempt live internal tests to chase an arc-start problem.
The bead turns gray, rough or porous
Lost shielding, surface contamination, inappropriate gas, excessive torch movement or inadequate post-flow may be contributors. More gas is not automatically better: turbulent flow can entrain air. First identify the gas and verify the torch, hose, cup and shielding arrangement against the manufacturer’s instructions. Stainless appearance alone is not a substitute for acceptance testing where integrity matters.
The tungsten keeps touching the puddle
That is often a coordination and access problem. Reassess positioning, hand support, visibility and the correct practice exercise rather than turning current up indiscriminately. Once contaminated, the electrode should be reconditioned or replaced as recommended before more welding.
Where to go next in the TIG cluster
If you understand the process but do not yet own equipment, your next research decision is which TIG welder fits your materials, input power and actual duty-cycle needs. If aluminum is your main task, first resolve AC capability and aluminum-specific consumable and setup requirements. Those topics deserve their own detailed buying and process guides rather than a duplicate product roundup here; this page establishes the system and the questions to answer before comparing models.
Practical verdict: TIG is a strong choice for a clean, controlled shop project where precision is worth extra setup and slower travel. For high-volume fabrication, windy field repairs, unknown coatings or safety-critical work without a qualified procedure, choose another appropriate process or stop and seek professional guidance.
Frequently Asked Questions
Can you TIG weld without adding filler rod?
Yes, certain close-fitting joints can be fused autogenously, meaning without separate filler. That does not make filler optional for every joint. Required strength, joint geometry, base alloy, service conditions and the approved welding procedure determine whether an autogenous weld is acceptable.
Does TIG welding always require a gas cylinder?
Conventional TIG relies on external inert shielding gas, usually argon, to protect the tungsten and weld pool. A machine sold as TIG-capable does not usually include a usable gas supply. Budget for a suitable cylinder, regulator/flowmeter and compatible hose arrangement, and secure the cylinder as instructed.
Is DC lift TIG enough if I want to weld aluminum?
Generally not for routine aluminum TIG. A DC lift-start feature describes arc initiation, not an AC output capability. Most aluminum TIG work needs a suitable AC TIG power source for oxide-cleaning action, along with the correct filler, shielding and joint preparation.
Why does TIG welding produce less spatter but still need ventilation?
Low visible spatter does not eliminate exposure to metal fumes, ozone, nitrogen oxides or gases from contaminated surfaces. The hazards depend on the material, coatings, process and environment. Suitable local exhaust, eye and skin protection and any required respiratory controls remain essential under the applicable safety requirements.