
GearAndSteel is reader-supported. As an Amazon Associate I earn from qualifying purchases. When you buy through links on our site, we may earn an affiliate commission, at no extra cost to you. Learn more.
A good welding helmet should match the arc process you use, provide a documented protective filter and full face coverage, and stay comfortable with the hood down. For most people moving between MIG, stick, and occasional TIG, a variable-shade auto-darkening helmet is the practical starting point. A passive fixed-shade helmet still makes sense for repetitive work, provided its filter is appropriate for that job. Do not choose on viewing-window size or appearance alone.
Find your helmet type first
- Learning to weld or switching processes: start with a properly rated variable-shade auto-darkening helmet. Check weld/grind controls and the actual shade range before buying.
- Repeated work at one established shade: a quality passive helmet can be a simpler option if you are comfortable with the restricted view before striking.
- Working around obstructed sensor sightlines: assess arc-sensor placement, detection behavior, and the manufacturer’s intended use, not just a sensor-count headline.
- Low-current TIG, tight pipework, or respiratory hazards: verify the special requirements separately. A generic helmet listing is not sufficient evidence of suitability.
What a welding helmet protects, and what it does not
A welding helmet combines a protective shell with a filter lens that reduces harmful arc radiation and helps shield the eyes, face, and parts of the neck from radiant energy and spatter. For workplace welding, OSHA’s welding requirements address helmet construction and coverage, while its eye-protection rule calls for filter shades appropriate to the task. A dark-looking window is not proof of certified protection. Look for identification, manufacturer documentation, and the markings applicable to the product and your working environment.
Keep safety glasses on underneath the helmet. A raised hood does not stop flying slag or grinding particles, and a welding filter is not a substitute for appropriate impact-rated eye protection. The shell also does not solve fume exposure, oxygen displacement, inadequate ventilation, uncovered clothing, or nearby workers viewing an arc. Those hazards need their own controls. Stop work if you cannot establish the necessary protection.
The three practical welding helmet types
| Type | What you see before the arc | Where it makes sense | Main tradeoff |
|---|---|---|---|
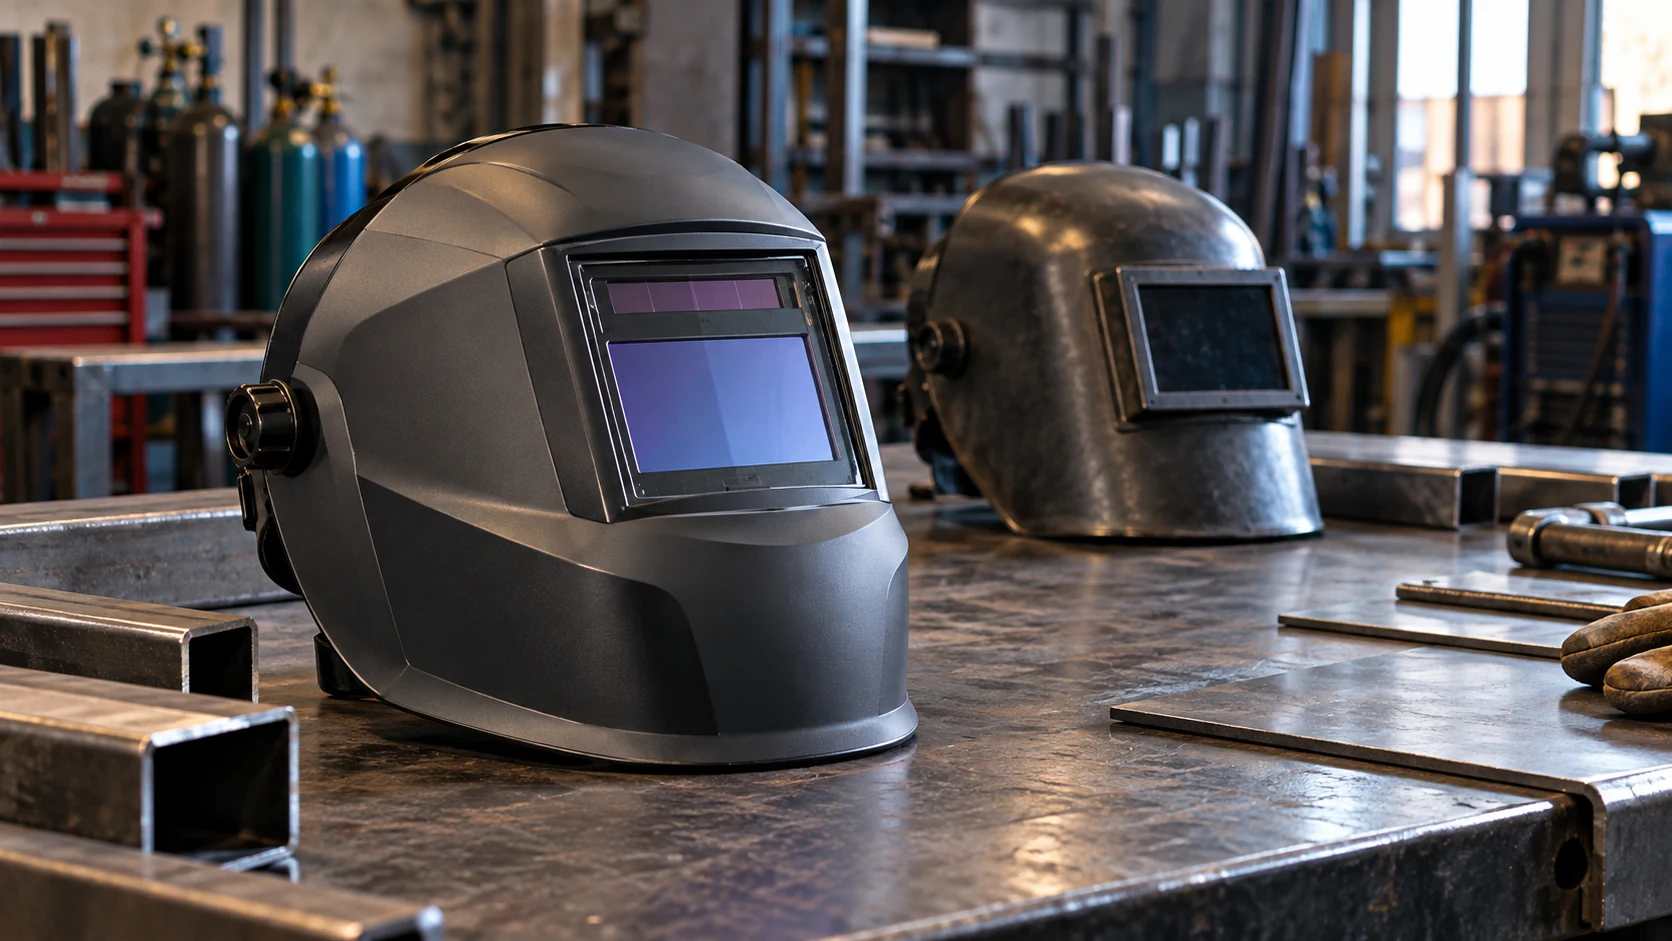
| Passive fixed shade | Always through a dark fixed filter | Repeated established work at the same correct shade | Harder to position before every start |
| Auto-darkening fixed shade | A lighter state before the filter switches to one preset welding shade | One process with a consistent shade requirement | Automatic convenience without shade flexibility |
| Auto-darkening variable shade | A lighter state, then a selected welding shade when the arc is detected | Changing processes, currents, joints, and frequent tacks | More electronic controls and maintenance to check |
The distinction people often miss is that fixed-shade does not always mean passive. A fixed-shade auto-darkening filter still changes from light to dark; it simply uses one preset working shade. If you are comparing helmets for the first time, confirm which technology the listing actually describes.
Seven checks that matter more than a flashy helmet shell
1. Documented protection and coverage
Read the product’s official safety information and confirm that the complete helmet, lens, and replacement components are suitable for welding. In the United States, ANSI/ISEA Z87.1-related markings and the relevant employer PPE assessment matter. The European EN 379 four-digit optical classification describes filter image quality, not an automatic substitute for US workplace compliance or an independently verified safe shade. Check neck and side coverage in the positions you actually use.
2. A working shade range that fits the process
A variable shade 9 to 13 lens is common, but that range cannot be declared universally adequate for all welding and cutting. OSHA 29 CFR 1910.133(a)(5) distinguishes processes and arc-current ranges; some work calls for settings outside that common lens range. Treat its minimum-shade table and your manufacturer’s guidance as the starting point, not an excuse to guess from how bright the arc looks. Our separate shade reference can explore the process-by-current detail without turning this buying hub into an unsafe one-size-fits-all chart.
3. Image quality, not only window dimensions
A large window can help you see the joint and surrounding work, especially in awkward positions. It does not prove a better filter. Optical distortion, haze, uneven shading, and visibility at an angle affect how usefully you can see the puddle. EN 379 scores, when officially documented for the exact lens revision, are more meaningful than unsupported claims of “true color.” If possible, try on a helmet before choosing between a bigger view and better balance.
4. Sensor layout and low-current detection
Arc sensors detect the welding arc so an auto-darkening filter can switch. More sensors can give the electronics additional unobstructed sightlines when a pipe, your torch hand, or a narrow fixture blocks one sensor, but sensor count alone does not establish low-amperage TIG capability. For that work, look for an explicit manufacturer rating or published application statement for the exact lens. If a lens fails the pre-use test, flickers unexpectedly, or cannot reliably detect your arc, stop and follow its manual rather than continuing to weld.
5. Balance, headgear, and respirator clearance
The best spec sheet is little help if the hood slides forward every time you lean toward a joint. Check how the crown strap and rear ratchet distribute weight; whether the shell clears your shoulders when you look down; and whether it fits over prescribed eyewear. If your hazard assessment requires a respirator, verify an approved, compatible combination with the helmet. Do not assume any standard hood will accommodate any respirator, or that the hood itself filters fumes.
6. Controls you will actually use
Sensitivity and delay controls are useful when lighting changes or the arc is interrupted; the operator’s manual explains their safe use and limits. A grind mode prevents the filter from automatically darkening and must be turned off before welding. Verify the selected welding mode, filter setting, and lens operation before every arc. A grind-mode indicator is a useful reminder, never permission to weld with grinding mode engaged.
7. Batteries, replacement cover lenses, and parts
Check whether batteries are replaceable, whether low-battery alerts are provided, and whether correct inside and outside protective cover lenses are available by part number. A badly pitted outer cover can make a sound auto-darkening filter look hazy. Replace damaged or unsuitable covers with the model-correct parts; never keep using a cracked filter or an unreliable auto-darkening cartridge. Replacement parts are a cost-of-ownership issue, not a minor accessory.
Two real welding helmets that illustrate the tradeoffs
These are documented examples of different priorities, not a ranking of the best welding helmets. The exact Amazon listing and part number matter, because manufacturers revise lenses and headgear while keeping similar product names. Neither example replaces a process-specific safety check.
| Verified detail | Hobart Inventor 770890 | Lincoln Electric VIKING 1740 K3282-3 |
|---|---|---|
| Auto-darkening working shades | 9 to 13 | 9 to 13 |
| Published viewing field | 9.3 sq. in. | Approximately 6.3 sq. in. |
| Arc sensors | Four | Two |
| Other documented details | PureColor lens, sensitivity/delay adjustment, grind mode | 1/1/1/1 EN 379 optical-class claim in the part-specific manufacturer literature, adjustable sensitivity/delay, grind mode |
Hobart Inventor 770890: choose it for the wider sightline
Hobart identifies the black 770890 as an Inventor-series auto-darkening helmet with a 9.3-square-inch viewing field and four independent arc sensors. Those are useful features if you often reposition around a joint or want to see more surrounding work. Its analog shade, sensitivity, and delay controls are straightforward, but you still need to understand the weld/grind switch and perform the manual’s checks. Skip it if the correct shade range or a documented low-current detection requirement falls outside what the exact lens can support.
Check the Hobart Inventor 770890 on Amazon
Lincoln Electric VIKING 1740 K3282-3: choose it for a smaller documented optical package
The manufacturer literature for K3282-3 lists variable shades 9 to 13, two arc sensors, replaceable AAA batteries, and an EN 379 optical class of 1/1/1/1. Its viewing field is about 6.3 square inches, smaller than the Hobart’s published field. That may be an acceptable trade if you prefer a more compact window and value independently specified optical criteria. The two-sensor design deserves additional scrutiny for frequently obstructed arc views. Do not silently substitute the newer K3282-4 revision or assume that its warranty or replacement cartridge is identical.
See the Lincoln Electric VIKING 1740 K3282-3 on Amazon
How to choose between them: for a bigger viewing field and more sensor positions, the Hobart is the clearer fit on published specs. For a compact, explicitly classified optical system, inspect the Lincoln. Neither automatically wins on personal comfort; the helmet must fit and the actual shade, arc detection, and PPE requirements must be verified first.
Match the helmet to the welding you actually do
| Your work | Buying emphasis | Reason to pause |
|---|---|---|
| Garage MIG and occasional flux-core | Adjustable working shade, comfortable hood-down positioning, clean cover lenses | Arc-current range or coverage not supported by the chosen filter |
| Stick welding and repair | Face/neck protection from spatter, durable shell, headgear that stays in position | Lens shade or protection requirements not documented for the operation |
| Low-current TIG | Manufacturer-published detection suitability, stable response at the required welding settings | Only marketing claims and no exact lens qualification |
| Frequent tacks and fixtures | Light-state visibility, convenient hood-down operation, reliable sensor exposure | Arc sensors repeatedly obscured by the joint or your body |
| Work with coated metals or poor air control | Appropriate engineering controls and a separately evaluated respiratory system | Fume or air hazards cannot be controlled by a helmet purchase |
Do not mistake a process label on a sales listing for a full operating approval. Check the manufacturer’s current instructions, the lens itself, and workplace requirements. For example, a welding helmet with a grind setting does not automatically become an impact-rated face shield suitable for every grinding task; follow the maker’s specified limitations and use appropriate safety glasses and face protection.
A practical five-minute fit and pre-use checklist
- With the machine off and no arc present, check the shell, filter, covers, and headgear for cracks, looseness, severe pitting, or missing parts. Replace damaged components according to the maker’s instructions.
- Adjust the crown and rear ratchet so the view stays centered when looking down or turning your head. Confirm coverage of cheeks and neck in normal working positions.
- Check clearance for safety glasses and any manufacturer-approved respiratory equipment, without compromising fit.
- Identify the actual weld/grind setting and shade-control position. Perform the filter’s prescribed test procedure and battery checks. A helmet that does not operate as specified should not be used for welding.
- With the work area assessed for ventilation, fire and bystander risks, confirm the correct welding shade from appropriate task guidance before striking an arc.
This pre-use check matters more than a feature badge. Automatic darkening is convenient only when the filter responds correctly, the operator selected the right mode, and the rest of the PPE is in place.
Common buying mistakes worth avoiding
- Buying solely by screen size. Compare optical clarity, headgear balance, sensor coverage, and replacement covers alongside the window dimensions.
- Assuming a 9 to 13 range covers all operations. Shade requirements depend on process and arc current; a range that suits one job may not suit the next.
- Treating grind mode as extra welding protection. It disables normal auto-darkening response in many models; never weld in this mode.
- Assuming any lens fits any shell. Cartridge, retaining frame, and protective cover dimensions and part numbers must match the helmet revision.
- Confusing optical ratings with US certification. EN 379 image-quality classification and applicable eye/face safety requirements serve different purposes.
Already own a serviceable helmet? You may not need another. If the lens is damaged or visibility is poor, check the official replacement-cover and filter instructions first. If appropriate parts are unavailable or the helmet cannot pass its operational checks, replace the helmet rather than improvising a repair.
The sensible next step
Decide whether your work needs an auto-darkening variable shade or a correctly chosen passive filter; then check the documented protection, appropriate shade, real fit, and replacement parts. The Hobart 770890 is a useful example of a wider viewing field with four sensors; the Lincoln K3282-3 shows the smaller-window, two-sensor alternative with documented optical classification. Review the Hobart listing or compare the Lincoln listing after checking the model and safety requirements.
Frequently Asked Questions
Is an auto-darkening welding helmet better for beginners?
Usually it is easier to position the work while the hood stays down, especially for practice tacks and changing joints. But it must have documented protection, a shade range suited to the task, and a filter that passes the manufacturer’s pre-use checks. Passive protection can still be appropriate for repeatable work.
Can I use one welding helmet for MIG, TIG, and stick welding?
Often, but do not rely on the process names alone. Confirm the exact lens supports the required filter shades and, for low-current TIG, that its arc detection is suitable. Your employer’s hazard assessment, protective clothing, and ventilation requirements still apply for each process.
Why can I barely see through my welding helmet?
A passive lens stays dark even when there is no arc. For an auto-darkening lens, first check the correct mode, visible battery condition, and scratched or dirty protective covers according to the manual. If a lens is damaged, flickers, or fails its test, stop welding and seek a model-correct repair or new unit as the manufacturer directs.
Do I still need safety glasses under a welding helmet?
Yes. The helmet is not a substitute for appropriate eye protection against flying particles, particularly when you raise the hood to inspect or clean the work. Choose suitable impact-rated glasses that fit without disturbing the helmet or prescribed protective equipment.