
GearAndSteel is reader-supported. As an Amazon Associate I earn from qualifying purchases. When you buy through links on our site, we may earn an affiliate commission, at no extra cost to you. Learn more.
To MIG weld for the first time, start with clean, known mild steel, a properly configured gas-shielded MIG machine, and a short practice bead on secured scrap. Match the wire, shielding gas, polarity, and starting settings to your welder’s manual. With suitable eye, skin, and fume protection in place, hold a steady gun angle and distance, watch the front of the molten puddle, and inspect the cooled bead before changing one variable at a time.
Before the first arc: choose a safe practice job
Practice on flat, uncoated mild steel, not a car frame, trailer hitch, pressure vessel, lifting attachment, or anything that has to carry a critical load. You are learning how the puddle moves, not proving weld strength. A clean offcut from a known steel supplier is enough. Factory-made mild steel practice coupons are useful if you need repeatable pieces, but they are not a requirement.
Do not start on galvanized, plated, painted, oily, or unidentified metal. Coatings and contaminants can create hazardous fumes and weld defects. Avoid containers or enclosed parts that held fuel, solvent, or other substances, even when they look empty. Stop if you cannot identify the material or establish suitable fume controls. Confined-space welding and safety-critical repairs call for a qualified professional and site-specific procedures.
For a first exercise, choose a thickness that your exact machine can weld comfortably according to its chart and manual. Starting on extremely thin sheet adds burn-through and distortion to a lesson that should be about torch control. Do not assume the plate thickness printed on a product listing is automatically within your welder’s capability.
Set up the workspace and PPE first
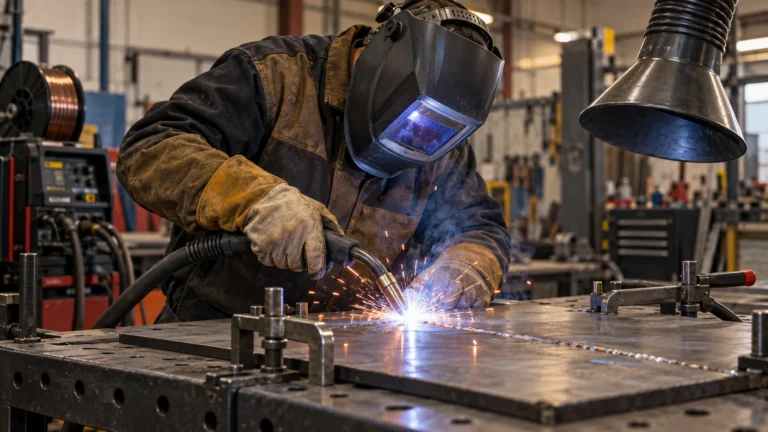
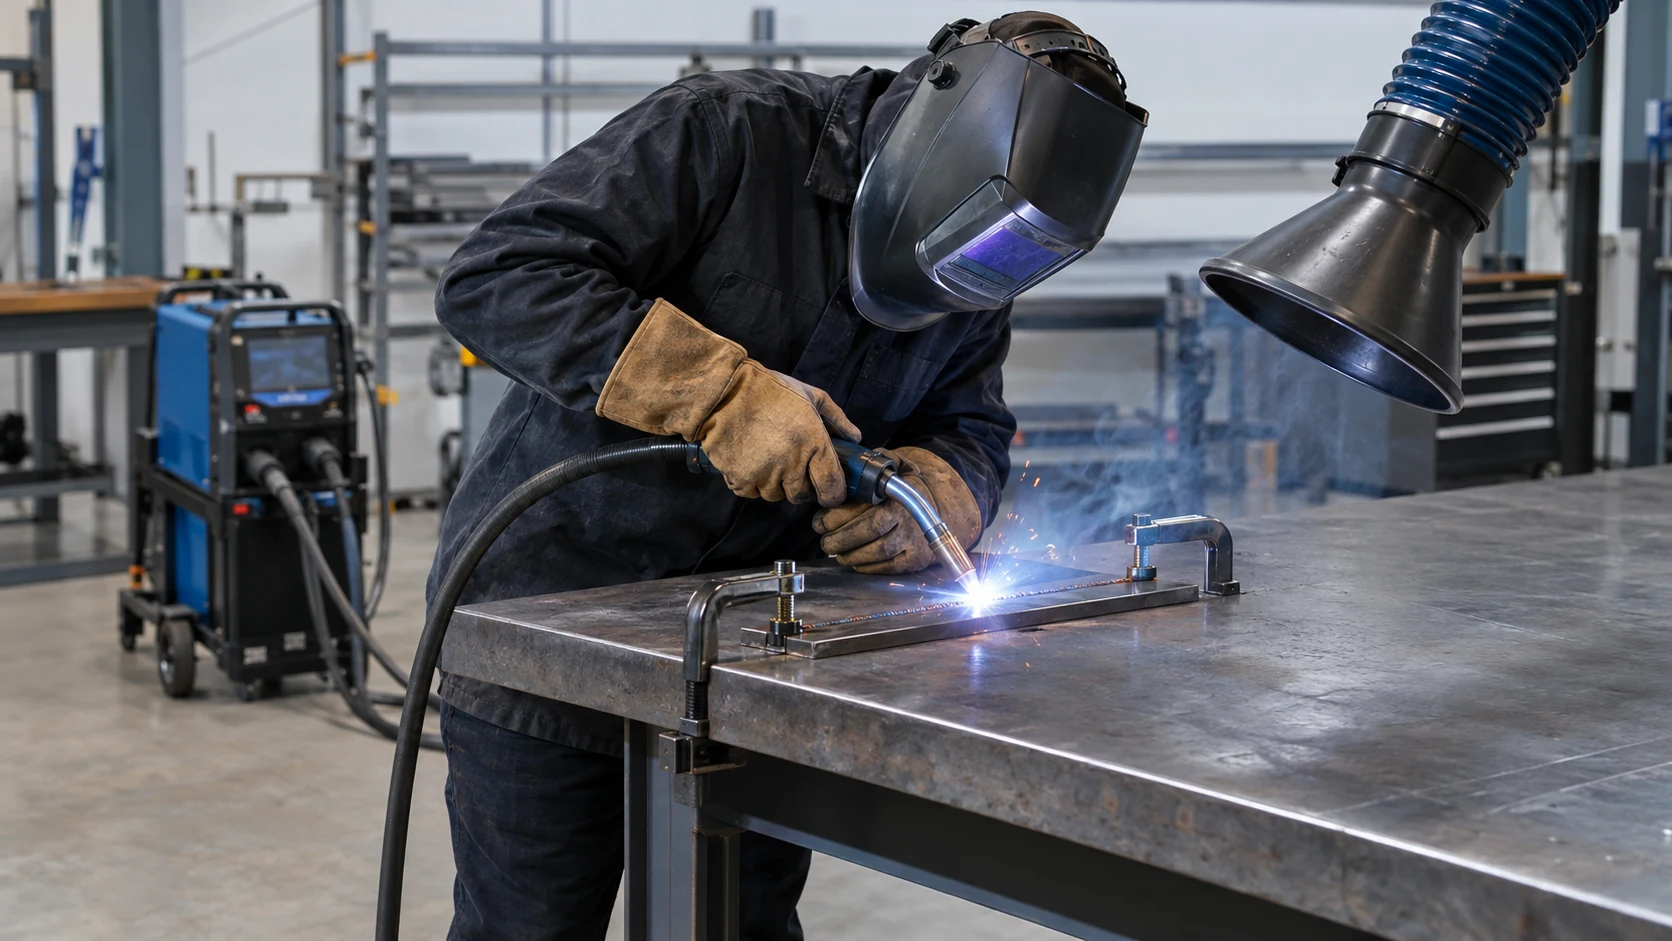
- Protect the entire person. Use an appropriately rated welding helmet with the correct shade for the operation, impact-rated safety glasses underneath, leather welding gloves, flame-resistant clothing that covers the arms and neck, suitable footwear, and hearing protection when needed. Protect anyone nearby from arc radiation with approved screens.
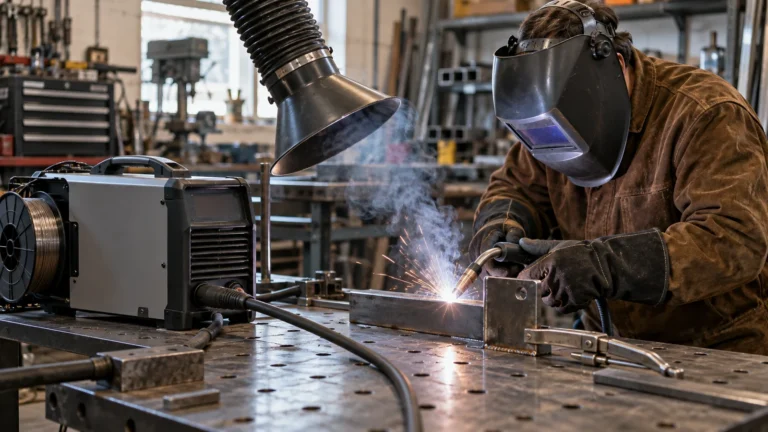
- Control welding fumes. Use effective local exhaust or another suitable ventilation arrangement based on the work and exposure. Position the capture hood so it collects fumes without pulling shielding gas away from the weld. A fan blowing across the puddle can cause porosity and does not automatically make the breathing zone safe.
- Control fire risk. Clear combustible material, inspect the work area beyond the immediate tabletop, provide suitable fire protection, and follow applicable hot-work/fire-watch rules. Assume metal stays hot after the arc stops.
- Check electrical conditions. Work dry, keep leads and insulation sound, route cables out of walkways, and use the branch circuit and input connection specified by the manufacturer. Never defeat grounding, safety interlocks, or a breaker because a machine trips.
- Secure the gas cylinder. Keep the cylinder upright and restrained, with the correct regulator and hose for that gas. Protect it from impact, heat, and the welding circuit. Follow the gas supplier’s and welder manufacturer’s procedures for connections and leak checks.
If any of those prerequisites is missing, do not strike an arc yet. OSHA’s welding and cutting requirements address eye protection, fire prevention, shock, and ventilation, but the exact obligations depend on the workplace and jurisdiction. The welder’s manual and the applicable workplace rules remain the controlling instructions.
What you need for a basic gas-shielded MIG setup
This procedure covers conventional gas metal arc welding (GMAW, usually called MIG) with solid wire on mild steel. It does not assume that self-shielded flux-core wire uses the same polarity, gas, or technique. Before loading anything, compare your equipment against this short checklist.
| Item | What to confirm | Common first-time mistake |
|---|---|---|
| MIG power source and gun | Machine supports gas-shielded solid-wire MIG and the available input circuit. | Assuming every wire-feed machine has a working gas-MIG mode. |
| Solid steel filler wire | Wire classification, diameter, and spool format suit the manual, drive rolls, liner, and contact tip. | Buying a spool that does not fit the feeder or mismatching the contact tip. |
| Shielding gas | Use a manufacturer-approved argon/CO2 blend or other specified gas for the steel/wire combination. | Welding with an empty cylinder, closed valve, or wrong gas. |
| Work clamp and clean steel | Connect to sound, clean conductive metal per the manual, close to the practice work if practical. | Clamping over thick paint or rust and chasing arc instability with settings. |
| Workholding and cleaning tools | Secure the plate with suitable metal clamps; remove coating and oil before welding. | Letting the metal slide or welding through protective shipping oil. |
ER70S-6 is a common solid-wire classification for gas-shielded MIG welding on carbon steel. A small 0.030-inch spool can make sense for a compatible compact machine, but confirm both the diameter and the spool hub size before ordering. Do not substitute solid wire for flux-core merely because both fit through the gun.
View the AWT 0.030-inch ER70S-6 wire on Amazon
If clean steel offcuts are unavailable, a set of known mild steel coupons offers a consistent practice surface. One listed option uses 11-gauge plates with a protective oil coating; clean that oil off using a safe, suitable process before welding. Verify that this gauge works with your machine’s output range.
How to set up a MIG welder for the first bead
- Identify the machine, process, and correct input supply. With the unit switched off and isolated as instructed, check the owner’s manual for the gas-MIG setup. Read the wire-loading and gas-system instructions before attempting either operation. Do not open electrical service panels or work on live terminals.
- Confirm polarity before welding. Solid-wire gas-shielded MIG commonly operates on DC electrode positive (DCEP). Use the polarity specified for your exact machine and wire, including any manufacturer-required internal lead arrangement. A flux-core diagram is not a safe substitute.
- Install matching wire-feed parts. Check that the drive-roll groove, liner, and contact tip match the chosen wire diameter and that the spool size is supported. Feed wire through the gun according to the manual with the trigger/drive safety precautions specified there. Do not put your hand near the gun outlet while wire is feeding.
- Connect the correct shielding gas system. Secure the cylinder and use the proper regulator or flowmeter, hose, and fittings. Check for leaks using the supplier’s approved method. Set the gas flow to the machine/wire manufacturer’s recommendation, not an arbitrary universal number. Excessive cross-drafts can defeat good gas coverage.
- Prepare the steel and clamp. Remove oil, paint, rust, and heavy scale from the practice area without creating uncontrolled dust or vapors. Fasten the work firmly, then attach the work return clamp to a clean, suitable connection.
- Set an initial voltage and wire-feed speed. Use the settings chart inside your welder or its manual for the material thickness, wire diameter, and shielding gas. If the machine has a verified automatic setup mode, use it as its manual directs. The published settings on a different brand’s machine are not interchangeable.
- Do a stationary dry run with power off. Rehearse where the gun will travel and where your gloved hands will rest. Confirm the cable can move without dragging across the hot work or the edge of the bench. Set the helmet and screens before turning the machine on.
Do not chase a perfect voltage or wire-feed number before you have made a test bead. The point of the first settings is to reach a reasonable manufacturer-approved starting point, then make a controlled observation. More on parameter selection belongs in the separate MIG welding settings guide, not in a universal chart copied between machines.
Make your first three practice beads
Bead one: establish a steady puddle
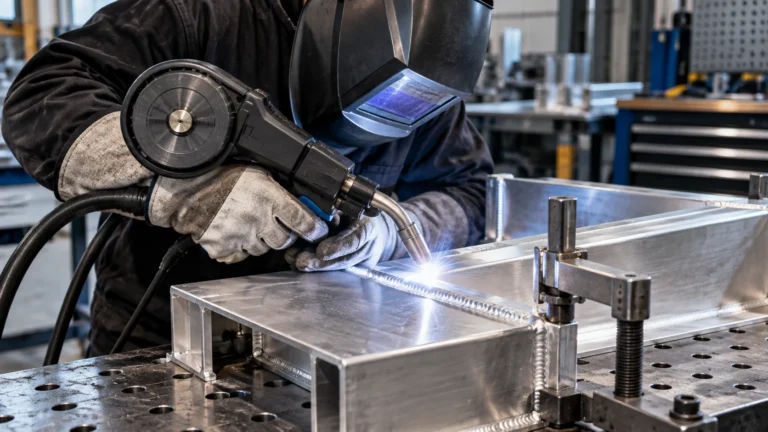
Start with the plate flat and firmly secured. Brace your arms or gloved hand where safe, keeping the support clear of the heat and moving parts. Hold the gun with a modest travel angle, typically about 5 to 15 degrees from perpendicular for many flat-position mild-steel MIG applications. Keep the wire directed toward the leading edge of the weld puddle rather than staring only at the bright arc.
Maintain a consistent distance from the gun to the work. Miller identifies around 3/8 inch of wire stickout as a typical beginner reference, but stickout, electrode extension, and contact-tip-to-work distance are not identical measurements on every nozzle. Follow the gun and machine instructions rather than using one number as a rigid gauge.
Settle into a smooth, straight pass. A mild, steady sizzling sound can accompany a well-adjusted short-circuit MIG arc, but noise alone cannot certify the weld. Stop, let the bead cool safely, and examine its width, edge transition, and uniformity. Use suitable tools to handle hot steel.
Bead two: change travel speed only
Leave the verified machine setup alone. Make a second pass on fresh metal and consciously move a little faster or slower than before. Watch how the puddle size, bead profile, and visible edge wetting change. If you are moving too quickly, the bead may look narrow or sit high without tying in well. Moving too slowly can pile metal into an oversized bead or overheat the practice plate.
Bead three: focus on distance and hand support
Return to your most controlled travel speed. Keep the gun position more consistent and use a comfortable grip that lets both hands move without sudden changes. Excessive wire extension can alter current and bead quality in constant-voltage MIG, as Miller explains in its discussion of electrode extension. Your aim is a predictable puddle and a repeatable straight line, not a cosmetic row of ripples. Surface appearance is a practice indicator only.
Do not use any of these beads on an actual load-bearing or safety-critical item. Destructive inspection, qualified instruction, and an approved procedure are needed when weld performance matters. A smooth-looking bead can still conceal lack of fusion.
Move from beads to a simple lap joint
Once three straight beads are controlled, prepare two compatible mild steel coupons with clean mating surfaces. Overlap them and secure both pieces so neither can shift. Tack and weld only in accordance with your machine’s instructions and the chosen practice material. Aim into the joint, watching that the molten pool wets both pieces rather than merely sitting on top of one. Work angle depends on the joint: the gun position for a lap joint is not the same as for a bead laid on a flat plate.
The benefit of this sequence is diagnostic. A flat bead teaches travel and puddle observation. A lap joint then reveals whether you can direct the arc into a corner and keep both edges involved. If the weld seems to rest on the surface instead of joining the pieces, stop and review fit-up, work angle, travel, settings, and cleaning before repeating. Do not decide a joint is structurally acceptable based on surface appearance alone.
Read the bead before changing the controls
| What you notice | Check first | Do not assume |
|---|---|---|
| Wire repeatedly stubs into the plate | Confirm the machine’s voltage and feed-speed starting pair, wire feed path, and consistent gun distance. | That increasing voltage is always the correct fix. |
| Wire burns back toward the contact tip | Stop. Inspect gun distance and compatible tip/wire parts with power isolated. | That the correct answer is to pull the trigger longer. |
| Excessive spatter or erratic arc | Check clean return-clamp contact, setup chart, wire feed, and gas coverage. | That spatter alone identifies one specific failed component. |
| Pinholes or visible porosity | Stop and inspect shielding-gas supply, leaks, wind/drafts, and contaminated steel. | That adding more wire speed will repair gas shielding. |
| A tall, narrow bead with poor edge tie-in | Review travel speed, aiming, joint preparation, and the manufacturer’s settings. | That a shiny bead proves adequate fusion. |
| Burn-through or severe warping | Stop, cool safely, and verify that the practice sheet and setup suit the machine. | That simply moving faster produces a sound joint. |
Adjust one variable at a time on noncritical scrap, and write down what changed. If a fault persists after the safe checks allowed in the manual, stop and use qualified service. Do not open a powered welder, defeat protective equipment, or improvise gas or electrical repairs.
A simple practice log that makes the next session better
Record the steel type and thickness, wire classification and diameter, shielding gas, machine settings from its chart, approximate travel behavior, and a note about what you actually saw. A photo of the cooled bead next to the recorded settings can help you compare practice runs. The first useful result is not a perfect weld. It is knowing which controllable change produced a visible difference.
If you are missing a supported wire or clean practice stock, purchasing them makes sense. If you already have verified wire and safe mild steel offcuts, buy nothing for this exercise. Recheck the intended practice material and spool format before selecting either accessory.
Frequently Asked Questions
Can you learn MIG welding on a 120-volt machine?
Yes, for practice jobs that fall within that specific welder’s material, input-circuit, and output limits. A 120-volt label by itself does not establish a safe steel thickness or duty cycle. Check the manufacturer chart and the required branch circuit; never modify a plug or bypass a breaker to gain output.
Should a beginner push or pull the MIG gun?
A slight push angle is a useful starting technique for many flat-position, gas-shielded steel MIG practice beads. Push and pull change bead shape and penetration characteristics, and the best choice depends on joint position and procedure. Do not transfer this advice automatically to self-shielded flux-core or aluminum MIG applications.
Why does a MIG weld look good but still have weak fusion?
Bead appearance does not prove internal fusion. Incorrect heat input, travel, joint preparation, aim, and surface contamination can leave metal deposited without proper bonding. Use noncritical practice coupons for learning, and rely on qualified procedures and appropriate inspection for structural or safety-critical work.
Can you MIG weld outside without shielding gas?
Conventional solid-wire MIG requires a suitable external shielding gas, and a strong breeze can disrupt protection. Some self-shielded flux-cored wires operate without a gas cylinder, but that is a different setup with its own wire classification, polarity, fume precautions, and machine-compatibility requirements. Do not treat gasless flux-core as a direct settings swap.